


Modern software development requires an application set up to be as easy as running a single command. Apps should also be easily torn down. A containerization tool such as Docker makes it easy for apps to be set up and torn down. In this tutorial, we will create a multi-container application consisting of
- An AdonisJS container based on node:12-alpine image
- A Redis container based on a redis:6.0.9 image
Software Requirements
- The AdonisJS app container should be able to communicate with the Redis container
- We should be able to run both containers using a single command
What we will Create
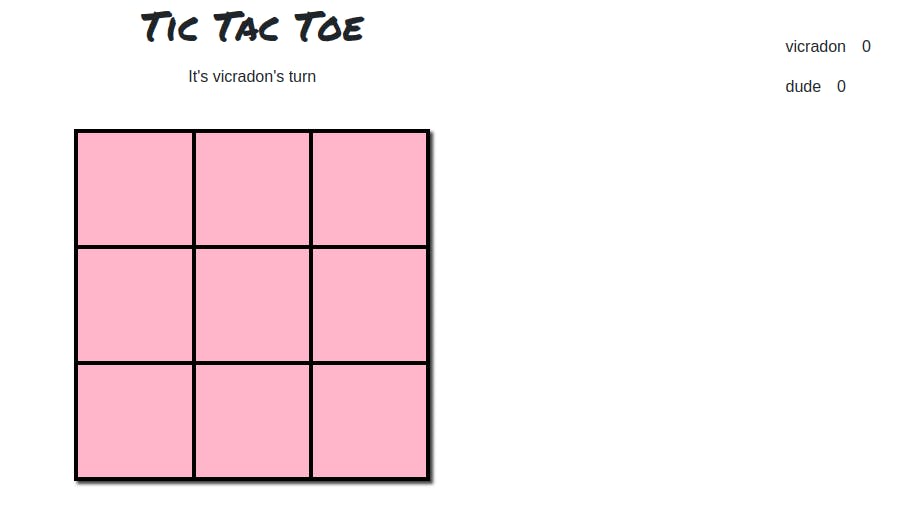
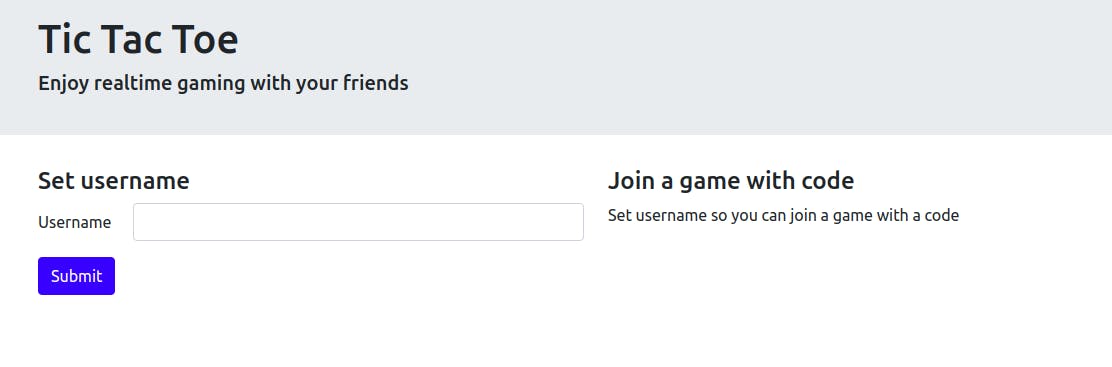
We will create a tic-tac-toe game multi-container which requires both NodeJS and Redis.
Where the code?
All get the code from this github repo.
How can two Docker containers communicate?
Two containers can communicate if they are on the same network. Our task is to create a network and add both containers to it. We will name our network tic-tac-toe.
Running Redis on the Network
Run this command to create a Redis container on the network.
docker run -d \
--network tic-tac-toe
--network-alias redis
redis:6.0.9 --requirepass passwords-are-dumb
The tic-tac-toe network will be created if not present and the redis container will be known as redis on the network. The redis:6.0.9 image will also be pulled if not locally present.
Using netshoot to inspect the network
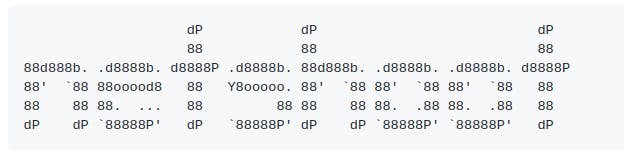
We will use nicolaka/netshoot to check if Redis was successfully mounted on the network. It comes with a lot of tools for debugging container networks. To get it running, on the network, use
docker run -it --network tic-tac-toe nicolaka/netshoot
You should get an output similar to
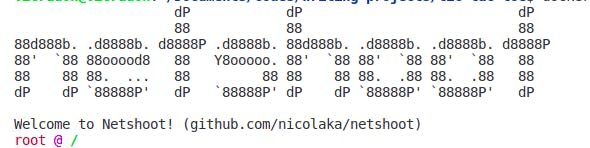
Since we used redis as the network alias for Redis, we can use the DNS lookup utility (dig) to inspect it.
dig redis
Your output should look like this

You should have an IP-Address in the answer section. Don't worry if it's different from mine.
Running the App on the Network
To run the app on the network, we will skip creating a Docker image and create a container using one command.
docker run -dp 3333:3333 \
   -w /tic-tac-toe \
   -v "$(pwd):/tic-tac-toe" \
   --network tic-tac-toe \
   -e REDIS_CONNECTION=prod_docker \
   -e REDIS_HOST=redis \
   -e REDIS_PORT=6379 \
   -e REDIS_PASSWORD=passwords-are-dumb \
   -e APP_KEY=trIBlAo33Ri84DPyx0KiM78AhLV7wA21 \
   -e PORT=3333 \
   node:12-alpine \
   sh -c "npm install && npm run prod"
This command will expose port 3333 and use the content of the /tic-tac-toe directory to create an image and then, a container. At the end, we run npm run prod in an sh shell. You can navigate to localhost:3333 to see the running app.
Whew, we've finally gotten a multi-container app to run. You may be wondering why we did all these to run two containers on a network? There should be an easier way 🤔. Indeed there is. We can reduce all these processes into a single file using Docker Compose.
Using Docker Compose
Docker Compose is a Docker tool for creating and running multi-container apps. Docker Compose comes with the Docker Engine in Mac and Windows. If you're on Linux, follow the installation instructions here.
Our project already contains a docker-compose.yml file at the root directory. But before we use it, we'll analyze it.
Analyzing the docker-compose.yml file
The file has this basic structure. The file contains a version which defines the schema version of docker-compose. The two fields under services, redis and app, are the containers we will define and run.
version: "3.7"
services:
  redis:

  app:

volumes:
Redis container definition
The redis container will have the same definitions as the one we did earlier
  redis:
    image: redis:6.0.9
    command: redis-server --requirepass ${REDIS_PASSWORD}
    ports:
      - ${REDIS_PORT}:${REDIS_PORT}
    volumes:
      - tic-tac-toe-data:/var/lib/redis
We have an image definition, a command that will be run, the exposed port and finally, a volume that will store our data.
App container definition
The app container has two extra fields, working_dir and environment. Instead of defining our environment variables in a long string, we do it in a structured way.
  app:
    image: node:12-alpine
    command: sh -c "npm i --production && npm run prod"
    ports:
      - ${APP_PORT}:${APP_PORT}
    working_dir: /tic-tac-toe
    volumes:
      - ./:/tic-tac-toe
    environment:
      PORT: ${APP_PORT}
      REDIS_HOST: ${REDIS_HOST}
      REDIS_PORT: ${REDIS_PORT}
      REDIS_PASSWORD: ${REDIS_PASSWORD}
      REDIS_CONNECTION: ${REDIS_CONNECTION}
      APP_KEY: ${APP_KEY}
If you notice, we define our variables within ${}. This means those values will come from an environment file.
Environment file
The .env.docker.example file at the root of the project has all the keys and some values for our compose definition. Create a .env.docker file using
cp .env.docker.example .env.docker
Choose a REDIS_PASSWORD and APP_KEY. You can generate the APP_KEY in the repl below. You can also choose a different REDIS_PASSWORD.
REDIS_CONNECTION=prod_docker
REDIS_PORT=6379
REDIS_PASSWORD=some-complex-password
REDIS_HOST=redis
APP_KEY=
APP_PORT=3333
Running the multi-container application
Now that everything is set up, we can run the app using compose
docker-compose --env-file .env.docker up -d
It should give an output similar to
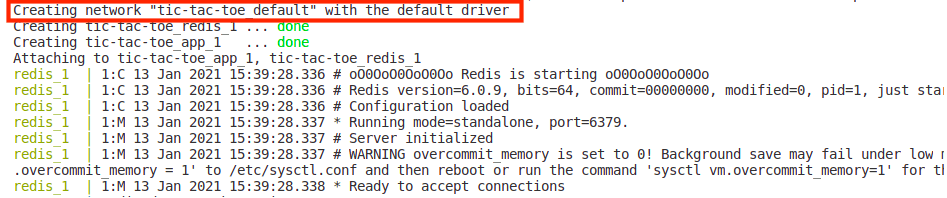
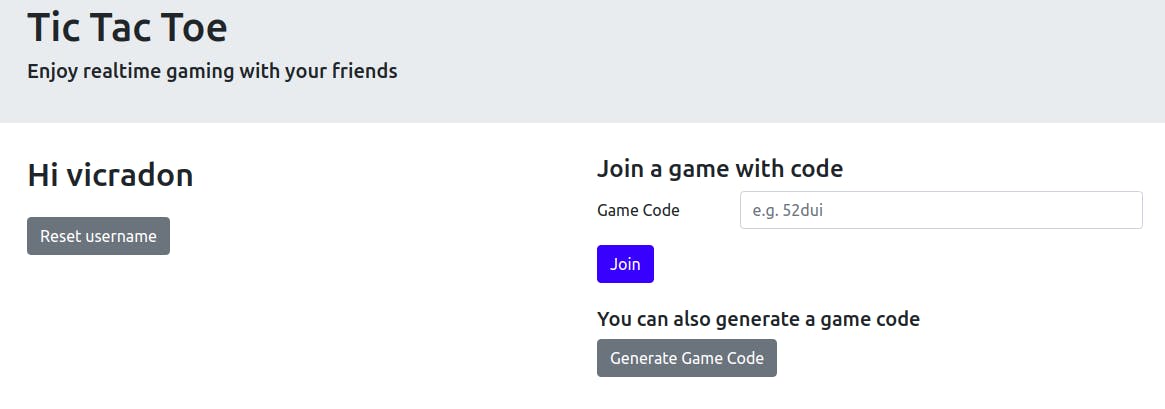
Compose simplifies our work by creating a network and the containers. Now, you can access the app on localhost:3333
Wrap Up
In this tutorial, you learned about multi-container applications, how to create a container on a network and how to use Docker Compose to simplify the process. If you enjoyed this tutorial, do subscribe to my newsletter (at the top of the article). You can also follow me on Twitter to see my latest musings on software engineering. Thank you for following along. Adios ✌🏾🧡.